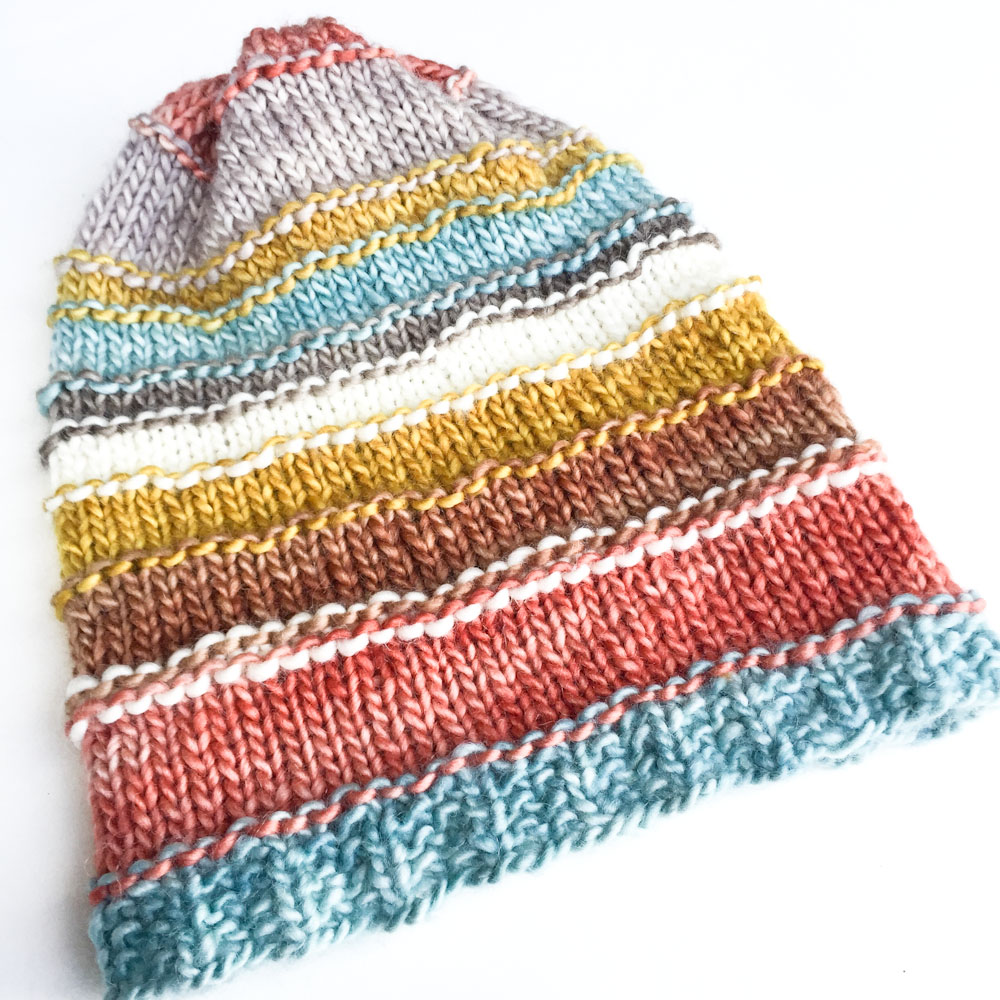
“Waste Not” Beanie knitting pattern
“Waste not, want not” was one of my granny’s mottos. It’s a frugal and economical way of living that I appreciate. And I find it difficult to throw (potentially) useful things away, especially yarn. I have a little bowl of serious scraps that I use for stuffing when needed. And plenty of small yarn oddments both at home and in the studio. We have had a serious cold snap in Cape Town after some unseasonally warm July weather. So I thought a this “Waste Not Beanie” free knitting pattern would be a good project to whip up this week (for me) or this weekend for you. It’s quick and easy, beginner friendly, and best of all you probably have a bunch of bits and pieces lying around that you could put into it.
If you want to use a different yarn weight just adjust your needle size and number of stitches accordingly – there’s no pattern repeat to worry about. And if you want to mix different yarn thicknesses I would suggest combining multiple thinner threads to achieve the thickness of the thickest.
MATERIALS:
~100g Cowgirlblues Aran Single remnants, I used Celadon, Terracotta, Natural, Camel, Mustard, Mushroom and Sable
5.5mm circular knitting needle
SIZE:
~23cm wide and ~30cm long gives a loose, slouchy fit on my head which is ~60cm around at the brim
GAUGE:
~12st and 23 rows = 10x10cm in stocking stitch
KNITTING INSTRUCTIONS
Cast on 60 stitches, I use the long tail cast-on method
Place a marker for the beginning/end of round and join your stitches to form a circle, taking care to keep the stitches straight and not twisted
Work 6 rounds as follows
R1: (K2, P1) repeat to end of round
R2: (P1, K2) repeat to end of round
R3-6: Repeat rounds 1 and 2 two more times
If you want a smaller brim knit fewer rounds.
Or keep going until you run out of the first colour
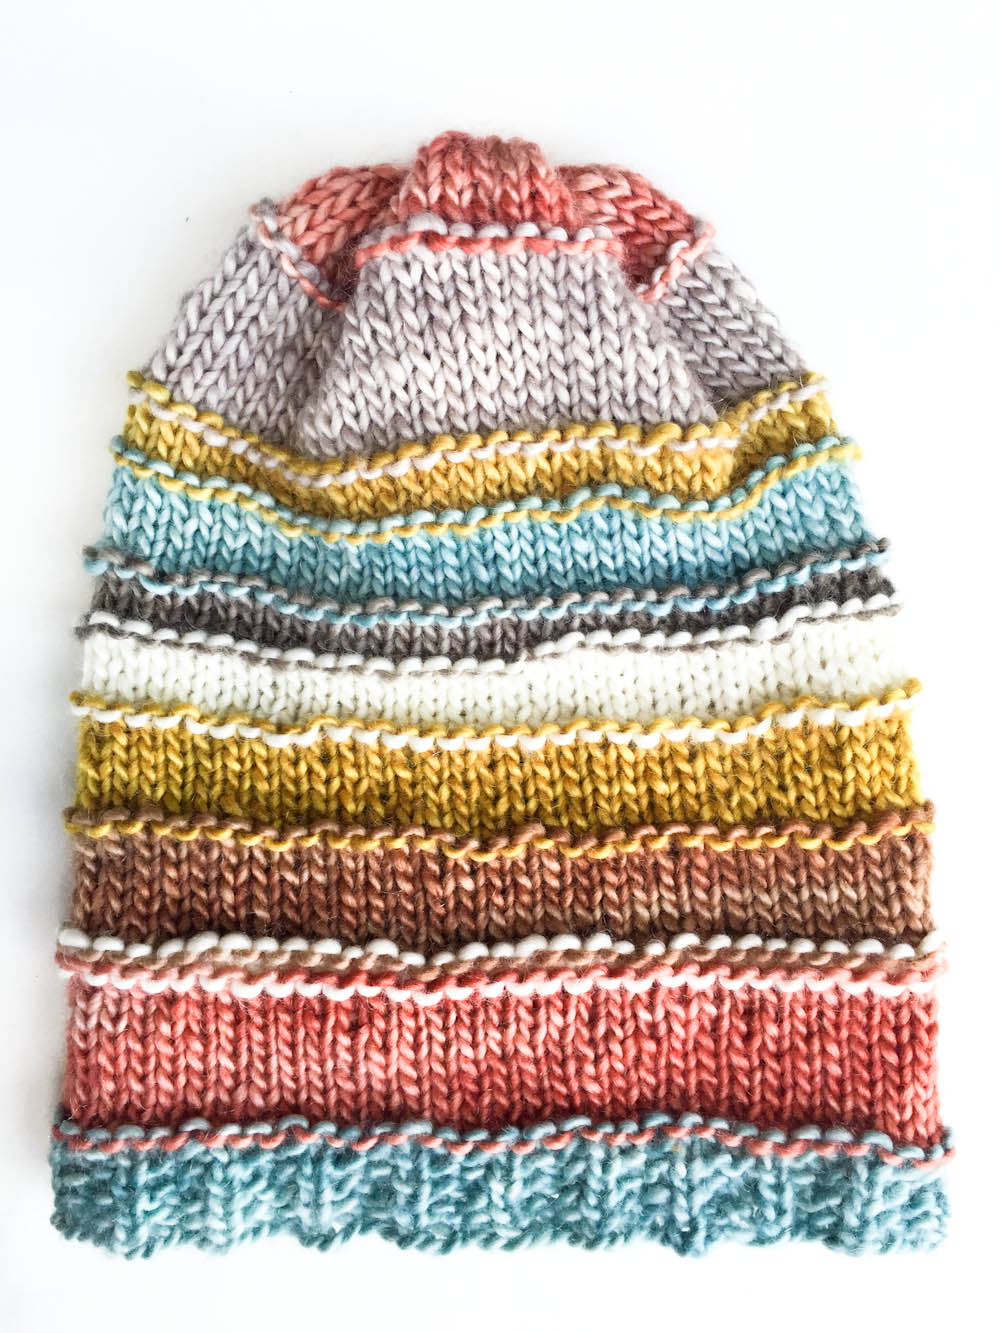
The body of the beanie is worked in stocking stitch
Every time I finished a colour I worked a purl round to join in the new colour.
This created the stripe effect on the “purl bumps” and gives a nice detail.
In order to minimize wastage I decided to knit each ball until it was finished and then change colours so my changes aren’t at the end of round marker.
Knit until the beanie reaches your desired length or until your yarn is almost finished.
For the last 3 rounds: K2tog all the way around
Break the yarn, thread it onto a darning needle and weave it through the remaining stitches taking them off your needle.
Pull the thread tight to secure the stitches and close the hole at the top, and darn it away tightly on the inside.
FINISH:
Weave in your ends, handwash gently and dry flat, shaping as required.
Happy knitting!
PS Please leave us a comment and let us know what you think of this beanie knitting pattern, and remember to post your project on Ravelry, Instagram and Facebook 🙂