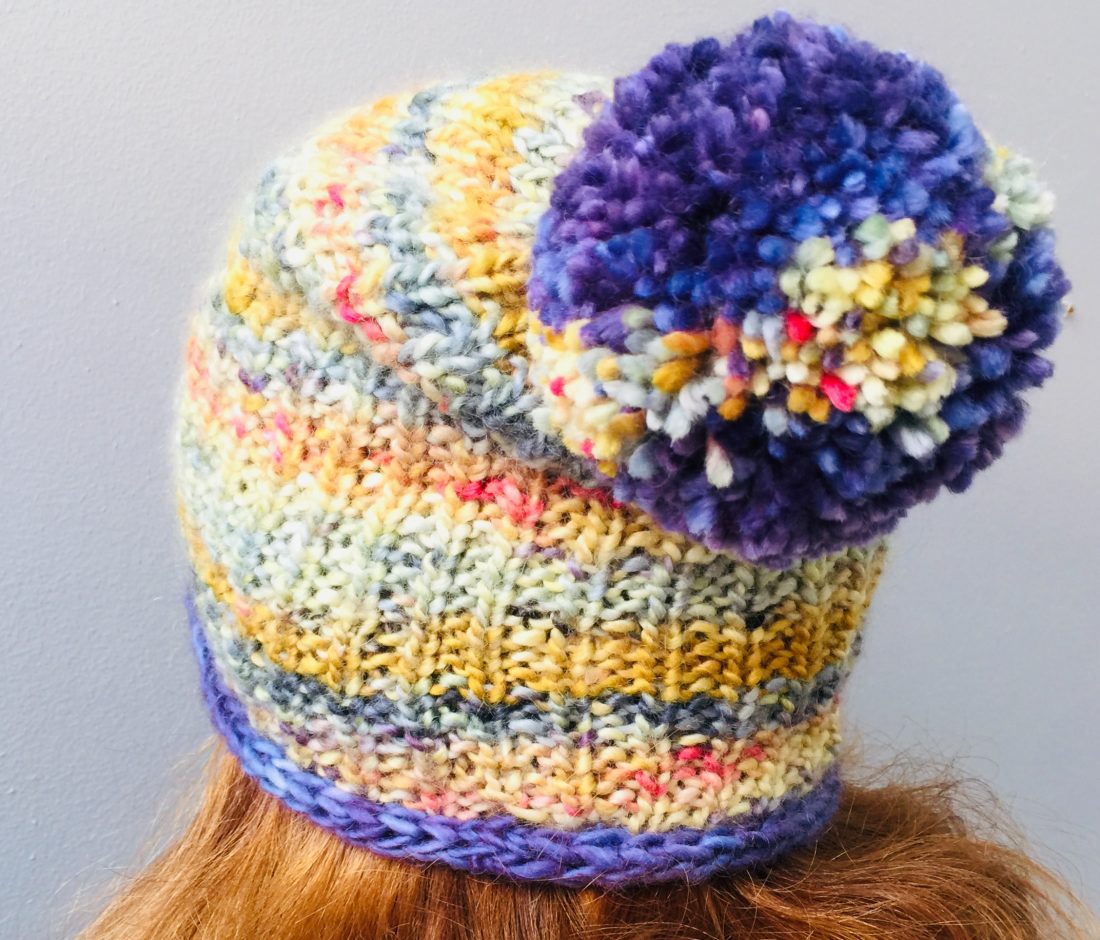
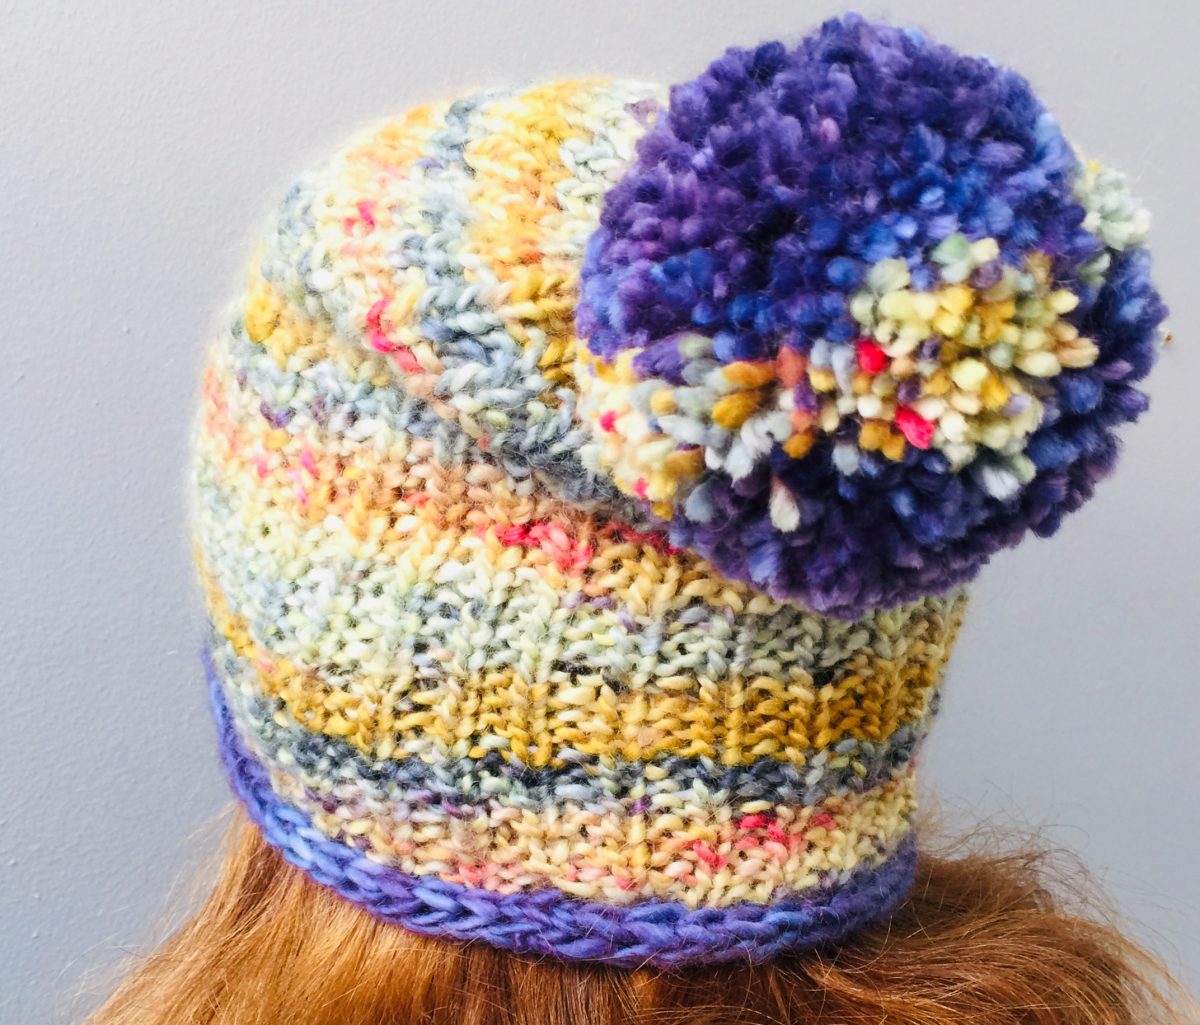
Next Level Beanie
There are a gazillion beanie patterns out there. And if you’ve knitted a lot of them then you probably don’t need a pattern. Even if you do knit loads of beanies maybe you would like to take them to the next level with a slightly more technical approach to starting and finishing. The Next Level Beanie pattern is designed to take you on that journey.
If you’re a beginner knitter taking some more adventurous steps this is a great pattern. I’ve knit a lot of beanies over the years and I usually use a long-tail cast on to start. I always knit them in the round. And I use a standard multiple of 6 or 8 stitches so I can do nice neat crown decreases that from a whorl like the spokes of a wheel. This one is worked a little differently.
The Next Level Beanie starts with a provisional cast-on. I used this because I knew I wanted to go back and add a contrast colour but I wasn’t sure which colour when I was starting out. So I thought I’d come back to it at the end once I could see how the yarn knitted up. This is a really useful trick.
And I didn’t do the crown decreases over multiple rounds. By the time I got there I had decided I wanted a slouchy finish so I worked the last three rounds in k2tog for a quick decrease before tying it off. Then I added a pompom to top it off.
Last but not least this beanie is reversible. Once you get to the crown have a look at both sides of the fabric and decide which will be the right and wrong sides. Depending on the yarn you use and the effect you want the knit or purl side might look more interesting. Make sure to finish off the crown yarn end on the “wrong” side once you’ve decided. And to have the wrong side facing you when you go back to unzip the provisional cast-on and finish off the i-cord edge. Now you can see why it’s called the Next Level Beanie!
MATERIALS
- 100g skein Cowgirlblues Aran Single in a multi colour. I used one of our Pot Luck Club specials. You could use any multi or solid colour, the principle of topping it off still applies. And you can also make this work in Merino DK, you’ll just need to tweak the gauge a bit and use a different size needle.
- 4.5mm and 5.5mm circular knitting needle
- Darning/Tapestry needle to finish your ends and graft the i-cord closed
- Pompom maker or cardboard to create the pompom
SIZE
~22cm across and ~27cm long including the i-cord edging
This gives a loose, slouchy fit on my head which is ~60cm around at the brim
You can very easily adjust the size by changing the number of stitches you cast on, depending on your gauge
GAUGE
~15st and 26 rows = 10x10cm in pattern
KNITTING INSTRUCTIONS
Using the 4.5mm needles and a provisional cast-on to create 66 stitches (any even number of stitches will work) [I’ll make a provisional cast-on video when we’re back from holidays in 2021]
Place a marker for the beginning/end of round and join your stitches to form a circle, taking care to keep the stitches straight and not twisted
Work as follows:
- R1: Knit
- R2: K1, P1
- Repeat these two rounds until you’ve reached the length you want or are close to the end of your yarn
- I recommend leaving some yarn in this main colour to include in your pompom, it ties the whole project together
- Work at least 2 rounds in k2tog to rapidly decrease the crown, you can go to as few as 8 stitches
- Break the yarn and thread it into the tapestry needle
- Use the tapestry needle to take the remaining stitches off your knitting needle
- Pull the yarn tight to close the crown and work some stitches on the wrong side to securely fasten off your yarn
FINISH:
The finishing is a little more complicated on this project but it’s well worth the effort and it really does take your beanie (and your knitting) to the next level to start playing around with i-cords..
First, unzip your provisional cast-on and place the stitches on the 5.5mm circular needle. Make sure the right side of your project is facing you.
Don’t join the stitches to work in the round.
To work the i-cord cast-off edging proceed as follows:
- Start by casting on two extra stitches onto your working needle.
- Now knit 2 stitches, then work a SSK decrease as follows:
- Slip the next two stitches from left to right needle knitwise (the SS part of the SSK)
- Insert the left needle into the front of the two stitches
- Knit the two stitches together onto the right needle through the back of the loop (the K part of the SSK)
- Keep the working yarn at the back of your work and slip all three stitches from the right needle to the left
- Repeat
- When you repeat this your working yarn is pulling across the three stitches at the back of the work. This tension creates the curl that makes the icord.
- Work for or five repeats and you’ll see it start to form.
- Continue this repeat to cast off all of your stitches until you’re left with three stitches on your needles.
- Now you’re going to graft them closed using Kitchener Stitch. [I’ll make a video tutorial when we get back from holidays, but have put a link to one in the meantime]
Weave in your ends, handwash gently and dry flat, shaping as required.
Happy knitting!
PS Please leave a comment and let us know what you think of this beanie knitting pattern, and remember to post your project on Ravelry, Instagram and Facebook 🙂