Midnight Dancer
This is a beautiful sock pattern, designed by Sari Nordlund, and available to purchase on Ravelry. I saw a picture on @laurelknits Instagram feed and I knew Midnight Dancer was the one for a relatively quick knit to find my joy. In this post I share my project notes for customising the pattern and for knitting a mini-size.
MATERIALS
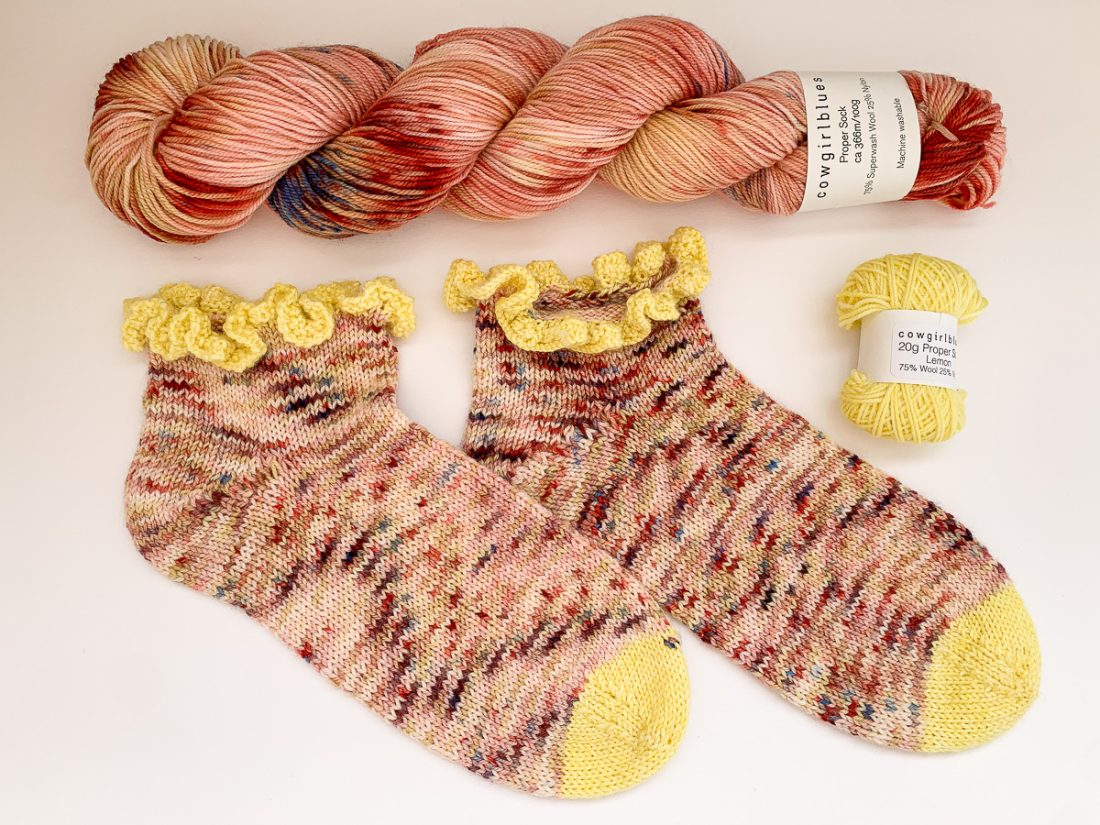
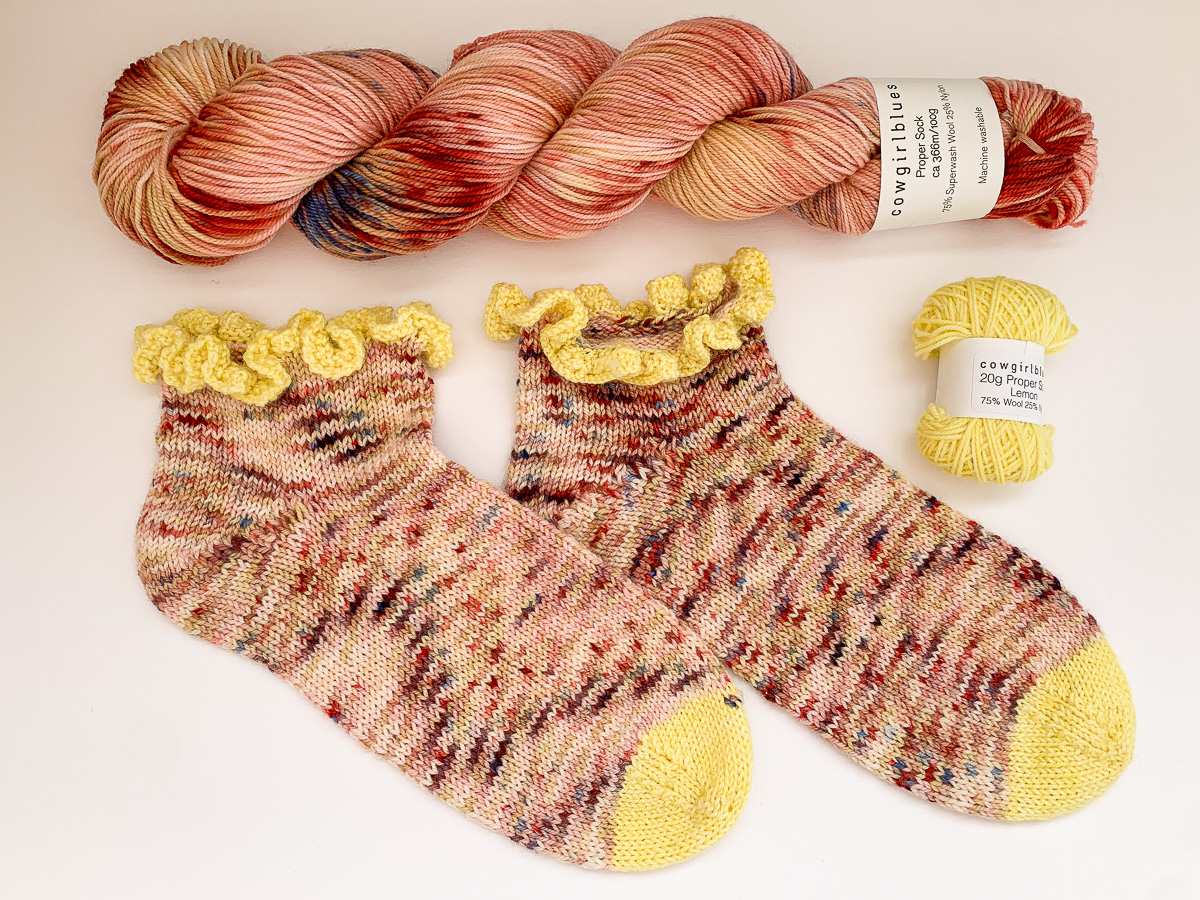
1 x 100g skein of Cowgirlblues Proper Sock yarn, I used Bridget’s Blush, one of our Limited Edition colours
1 x 20g mini ball of Cowgirlblues Proper Sock in Lemon
2.5mm CiaoGoo circular knitting needles
A darning needle for finishing the ends and a couple of stitch markers
GAUGE
My tension is generally on the loose side. And this project was no exception. My 32st measured 12cm instead of 10cm. So normally one would go down a needle size. But I was stuck at home with a sinus infection so I used what I had. To get the right size for my feet I knitted the smallest pattern size, there are three adult size options.
COLOUR
This project was all about sparking joy, a la Marie Kondo. So I wanted the colours to stand out. I had decided from the outset that I’d have ruffles and toes in a contrast colour, and I started with the main colour. Looking at the options the Lemon really spoke to me. It’s fun, and sunny and cheerful. And it definitely ticks the “joy” box. I wasn’t sure how far the mini ball would go as the ruffle cast on has 4x the number of stitches of a normal cuff, but it worked out.
KNITTING INSTRUCTIONS
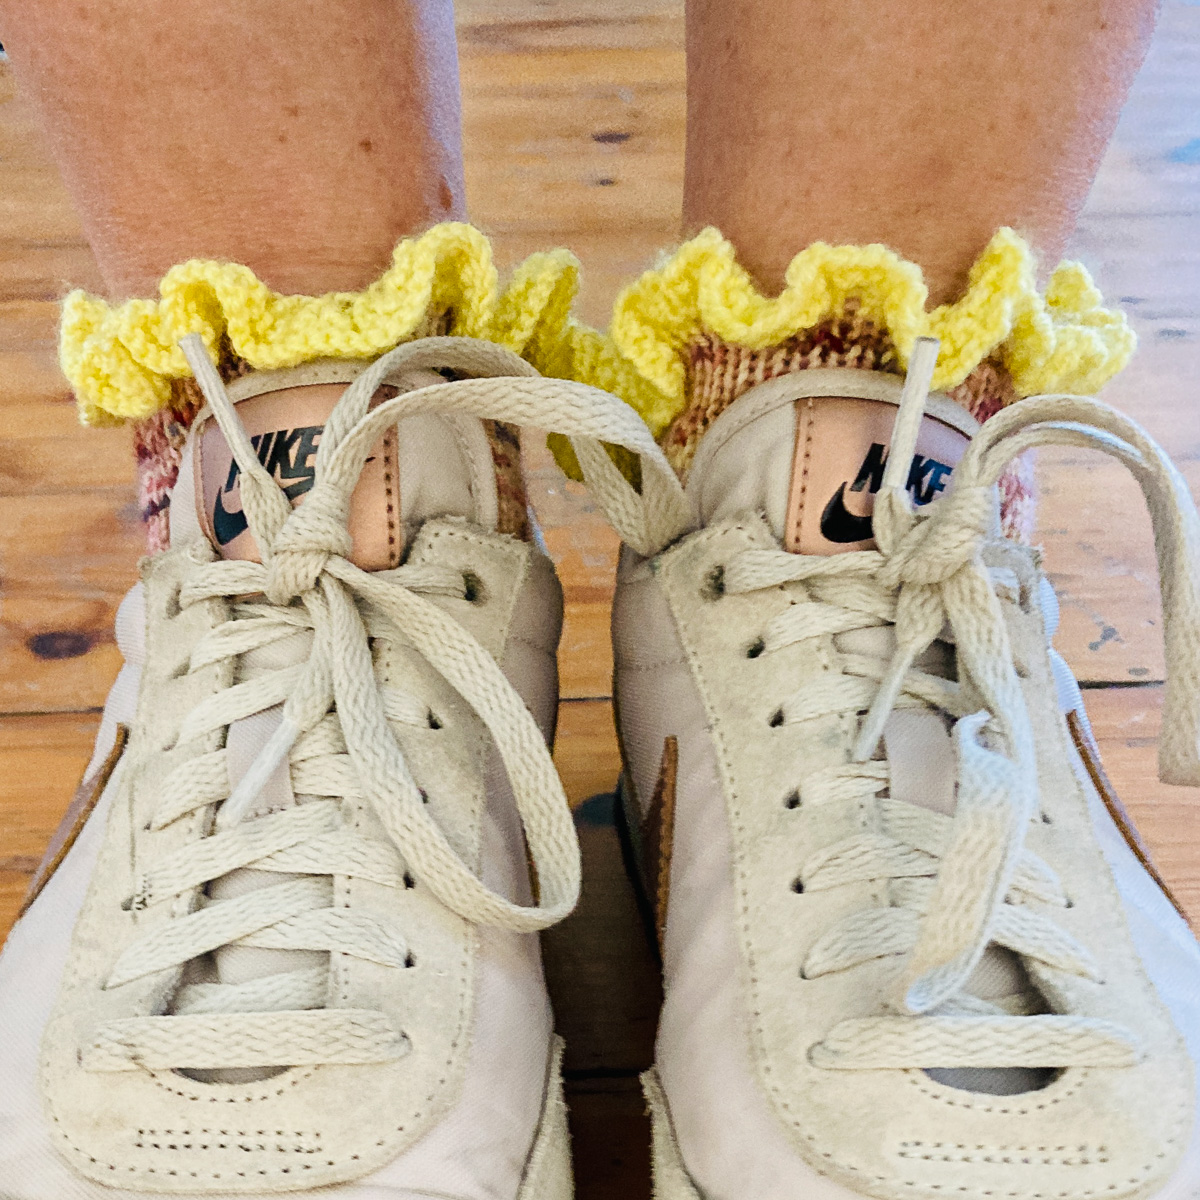
I wanted proper anklets to wear with trainers, or my Birkenstock sandals. Quelle horreure! This literally means “how awful” when translated from French. And has always been a fashion no-no in my world. But over the winter I came to love my Birkies with socks and I think it has a place.
Using the Lemon contrast colour I cast on for the ruffles, and only changed to the Main Colour when I had finished the ruffle decrease and was ready to work the cuff. These I changed also, shortening them to only 5cm.
From there I followed the pattern. First working the short row heel option, although A heel flap alternative is also included in the instructions. Then I worked the foot, all using the magic loop method. And as I got to the toe decreases I switched back to my contrast colour.
The second sock went smoothly too. Although I need to do some research on short row heel methods. Mine weren’t as tight as I’d have liked even when consciously pulling to close any gaps.
After finishing the second sock I had plenty of yarn left. I only used 40g of the Main colour and about 13g of the Lemon contrast. So I decided there was enough for a teeny-tiny pair of matching socks for Anabel, my 18 month old niece. This required a bit more concentration as Sari’s pattern
BABY SOCK ADJUSTMENTS
First step was some calculations and guestimates about her foot size as I didn’t have any actual measurements.
I did some googling, pictured her shoes, and decided to work on 40st for the cuff, which meant 160st cast on.
Before starting I split my remaining Lemon yarn in half to make sure I would get two socks the same. It wasn’t a lot. So I did the cast on and first ruffle round in Lemon then went back to the Main colour. I made the anklets shorter on these also, 3.5cm, then started the short row heel.
Working with the same ratio of starting:finishing stitches on the short rows I worked until 9st remained between the slipped st with yarn overs, then worked the other half of the heel.
I’m not sure if I got the foot length right, but here’s hoping. I decided 10cm looked good, so I did 16 rounds between the heel and toe, and I changed to the last bit of Lemon for the toe. It worked out with about 30cm to spare once I’d done the Kitchener Stitch closing.
NEXT STEP
Finish the other little sock. And check to see if they fit!
I’m not big on blocking being the impatient sort. So I steamed and lightly pressed them.
Watch this space for a family photo when Anabel tries them on.

PS Yes, that’s a little “L” stitched onto the toe of the left foot. I knitted it slightly shorter as my right foot is longer. I want to get a “formula” for the perfect sock for me. So it was a “two birds, one stone” situation.