Get a great night’s sleep
As an occasional insomniac I don’t take a really great night’s sleep for granted. I LOVE my bed! I would spend a lot more time resting on it if I had the opportunity. It’s my super comfortable happy place. When I’m in a sleepless phase and lying in bed counting my blessings “my bed” and “my bedroom” are right up there at the top of the list of things for which I’m grateful.
Sleep is a big subject, and there is tons of research on the optimum number of hours humans need. Don’t kid yourself, it’s at least eight! The benefits of sleep and the important role it plays in health and happiness are well documented. Phones, computers, television and clocks definitely don’t help.
One of the big contributors to the quality of my sleep is my bedding. Mid-summer in Cape Town is probably not the best time to tout the benefits of wool blankets. But even at this time of year having natural fibres on my bed is essential. When it gets REALLY hot I sleep with a cotton sheet and a very light wool or wool/mohair blanket on top.
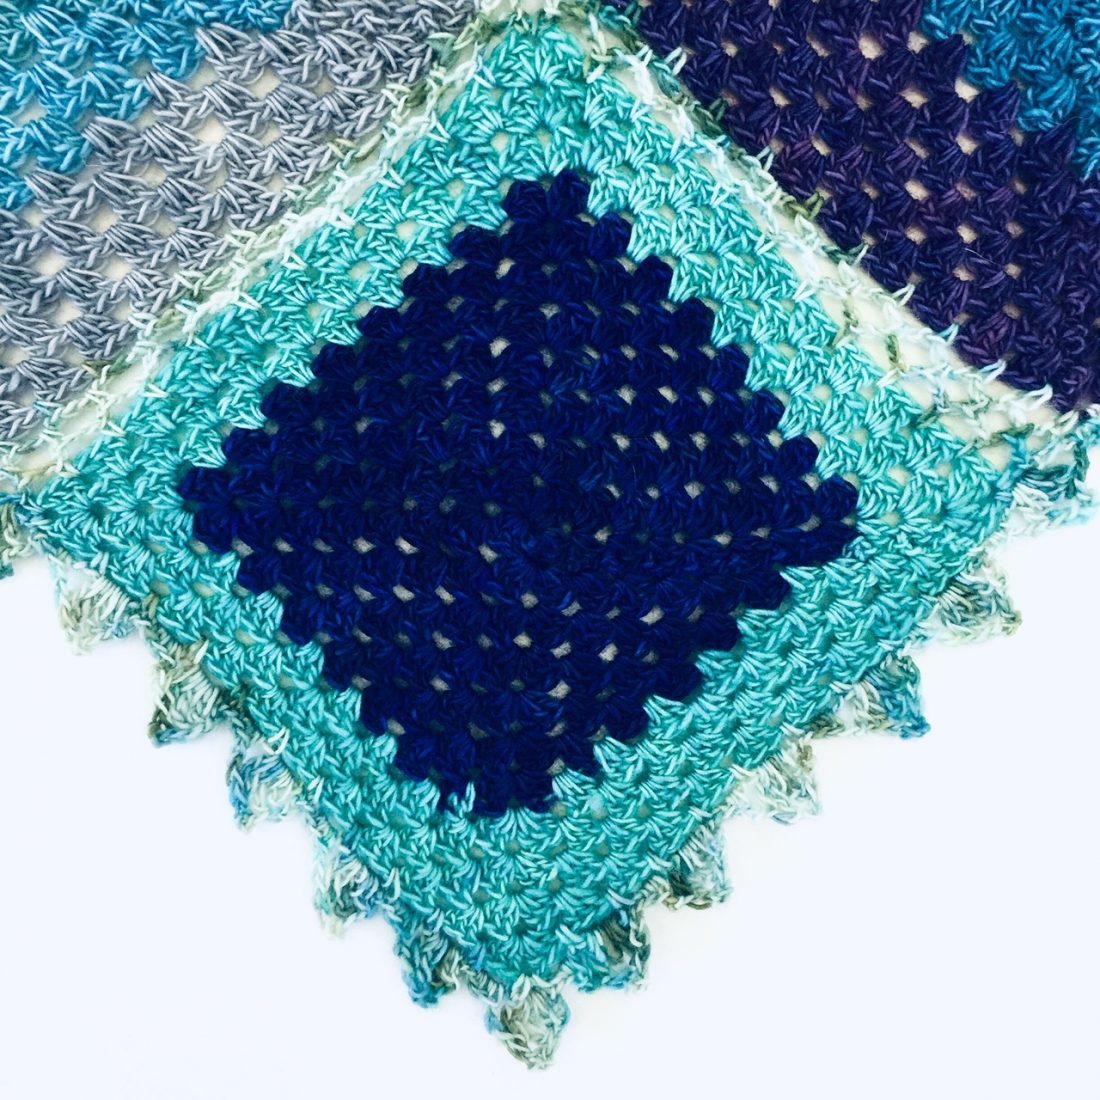
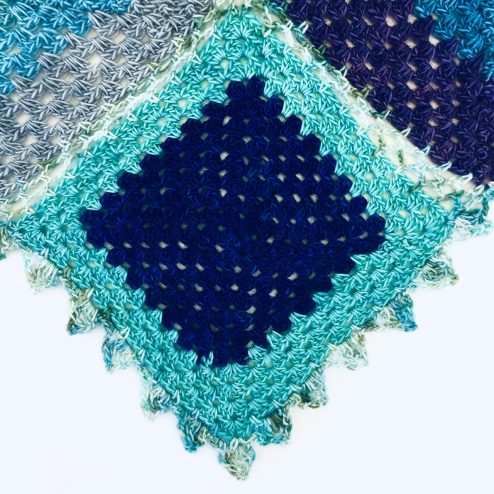
I’ve just finished making myself this pretty crocheted throw. It keeps me cool and warm. It’s a beautiful addition to my bedroom. And it’s the perfect throw to have handy for afternoon naps and night-time slumber.
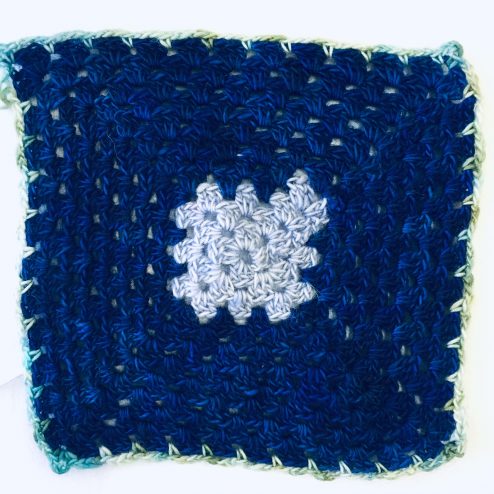
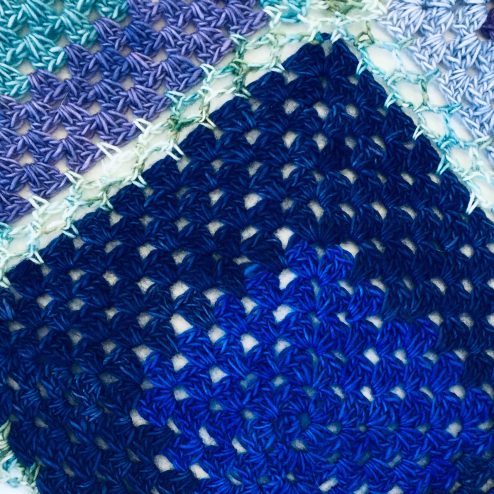
When I started working it I had loads of yarn ends in Cowgirlblues Merino Lace Single. I picked a colour palette of mostly blues, greens and purples, with a bit of grey thrown in. The granny square is my go to. And because I was working with ends I mixed them up in different colours without worrying about keeping the size of the colour changes consistent.
Making up a crochet blanket
Finishing a granny square blanket is often more of a challenge than making the individual squares. And that took some thought with this one. First up was choosing the yarn. I wanted to keep to a consistent weight so I found a multi-colour skein of Merino Lace Single. Green Love is one of the custom colours we dyed for our sale last year and there are still a few of them available for purchase here.
I started with a join method that I thought would enhance the lightness of the throw, and add a consistent colour to the whole project. There are loads of websites offering different joining suggestions and I ended up with the Scallop Join from Gourmet Crochet.
It’s a quick and easy joining method, that creates a pretty lattice work of colour between your squares and I really like how it worked out in my blanket.
Working the edge
To try this yourself have a look at the original post on Gourmet Crochet or follow my instructions here:
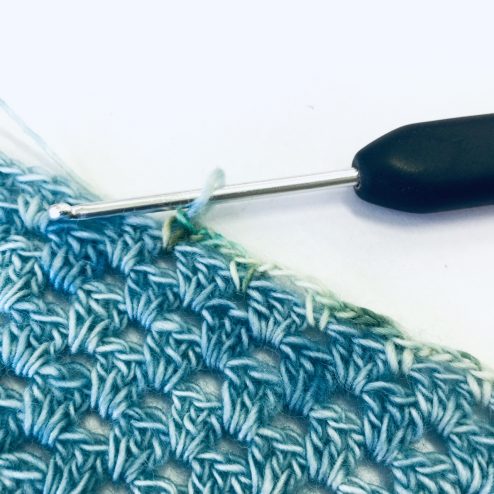
You need to work around a square before you can join it to another one. So your first square needs to be edged completely before starting on the second one.
Join your working yarn to a space anywhere on the edge of your granny square.
Ch3 and work 1 single crochet into the next space, and continue working around the square.
At the corners make a loop with a single crochet into the space, chain 3, and single crochet back into the same space, then continue around.
When you get back to the start join the yarns with a slip stitch, pull the yarn through and cut it off.
Joining squares
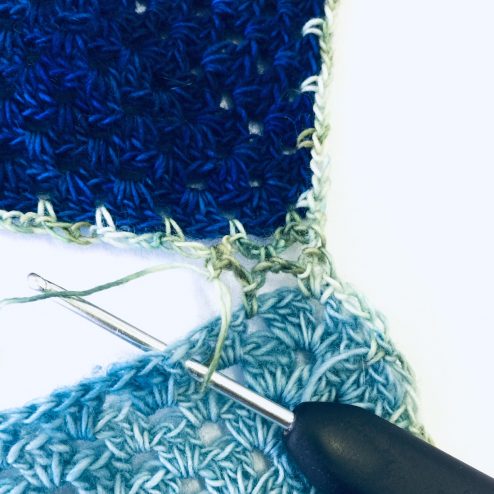
Start working around the next square. Once you have three sides done you join it to the first square down the fourth side as follows:
At the corner, chain 2, chain 1 into the corner loop of the first square, chain 1 and work 1sc back into the corner of your second square.
Chain 2, work 1 sc into the chain 3 space on the first square, chain 1, 1sc into the second square.
Keep working all the way down the side of the two squares, joining them together as you go.
At the end, join the two corner loops as you did at the beginning and finish with a single crochet into the second square, cut the yarn and pull it through the loop.
Joining two squares is easier than joining three, but the same principal applies. The only place it gets a little tricky is at the corners when you have a third and fourth square, but you basically follow the same process, and in the end all four squares will be joined together.
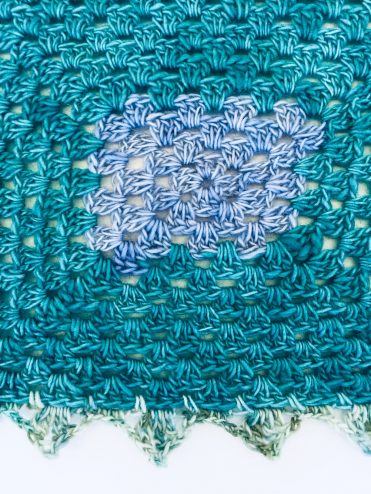
Finishing the outside edge was another decision, and I wanted something a little bit decorative and in keeping with the light and lacey scallop join. So I ended up choosing an edging that is also scalloped … it’s called the Wide Pointed Scallops and I found it on The Spruce Crafts.
Making the trim
It’s a fairly straightforward triangle shape that’s worked as follows:
1 single crochet to attach the working yarn, then I worked all the stitches into the same space:
Ch2, 1 dc, 1 tr, ch3, slst into the 3rd chain from the hook (to make a little bobble), 1 tr, 1 dc, ch2, slst into the next sc.
I worked my clusters into alternating ch3 spaces all around the blanket edge. To create some space I made a cluster in one space, then worked 3 sc across the next space, then another cluster in the subsequent one.
I treated the square joins as a ch3 space, and did a full cluster into each corner. It worked quite well and am happy with the end result, both aesthetically and from a crochet perspective.
But most of all I’m looking forward to many a great night’s sleep under my lovely laceweight blanket!
Terminology
slst = slip stitch
ch = chain
sc = Single crochet – don’t wrap the yarn around the hook, insert it in, pull up a loop then draw the yarn through both loops on the hook.
dc = Double crochet – wrap the yarn around the hook before inserting it and pulling up a loop, pull the yarn through two loops, then again through the remaining two.
trc = Treble crochet – wrap the yarn twice around the hook