
Kidsilk Cobweb Shawl
We’ve had many requests for knitting patterns for our beautifully light and lacy Kidsilk Cobweb Shawls over the years. The fabric is so popular that we’ve done it in a whole range of different shapes and sizes and they continue to be a best seller in our store. But knitters want to make them too. In the old days I had a very complicated pattern that involved stitch markers and things. However I’m happy to tell you that I’ve simplified things a lot and worked up a lovely slip stitch version of the shawl pattern. It’s right here and ready to go. I hope you’ll enjoy knitting it!
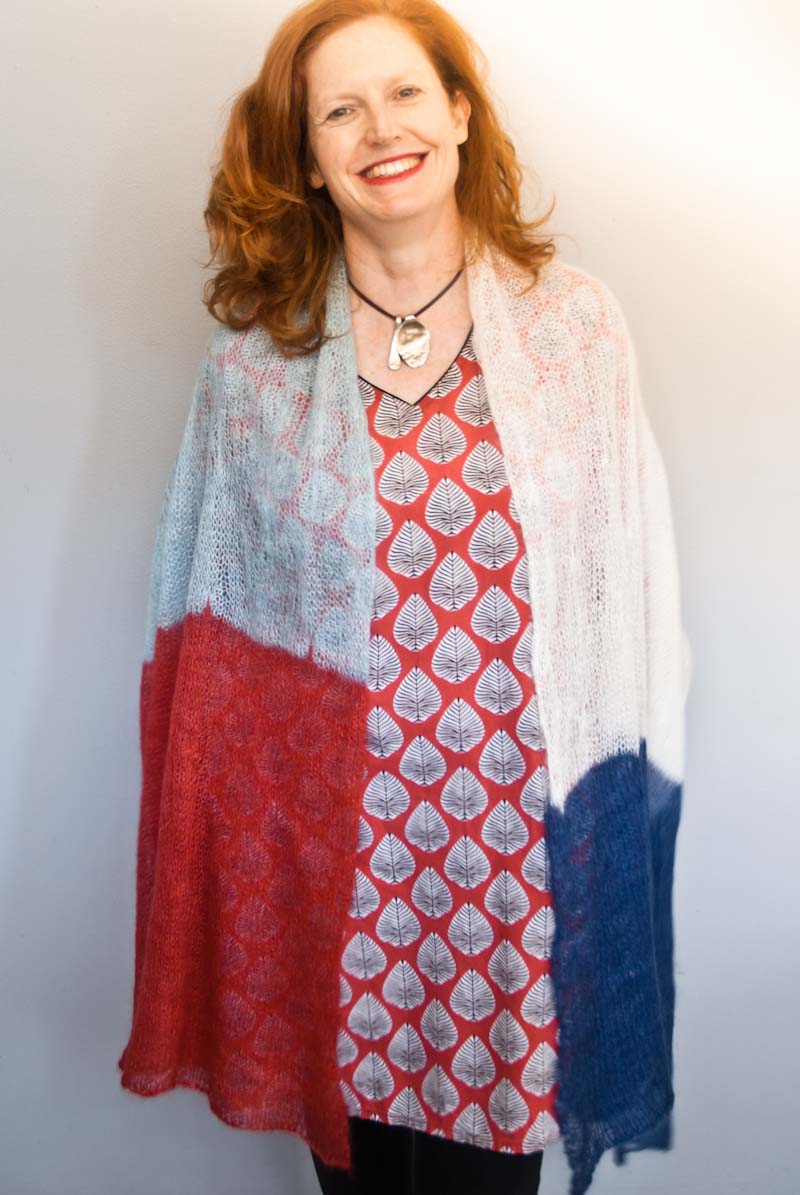
(It wasn’t exactly the right dress for this shawl, but the colours work and it’s the only shot I have of someone wearing it!)
MATERIALS:
4 x 25g Cowgirlblues Kidsilk we used Chilli Pepper, Celadon, Natural and Indigo
6mm knitting needles, circular or straight
SIZE:
~90cm wide by ~180cm long
GAUGE:
Knit a 10x10cm sample in stocking stitch
~11 stitches and 19 rows = 10cm
(If you’re into loose and light then you can go bigger on the knitting needles, you just might need an extra ball of Kidsilk to get the length)
KNITTING INSTRUCTIONS
The whole shawl is worked in stocking stitch in four different colours. Work each ball in full until it’s finished, then introduce the new yarn, always on a knit side row.
Cast on 101 stitches in Chilli Pepper using Jeny’s Surprisingly Stretchy Cast On (see video tutorial by Jeny Staiman on Youtube)
Stocking Stitch
Work 14 rows in stocking stitch as follows:
R1: Sl1, knit to last stitch, K1tbl
R2: Sl1, K1, Purl to last 2 sts, K1, K1tbl
The entire shawl is worked in repeating rows of stocking stitch following this basic pattern with Cobweb Stitches placed into the stocking stitch.
To make a Cobweb Stitch
This is a simple slip stitch technique:
R1: On the knit row Sl1 knitwise
R2 – R6: On the following 5 purl and knit rows when you reach the slipped stitch slip it knitwise so that it remains open-faced and not twisted
R7: When you reach the slipped stitch you need to knit this stitch with the 6 slipped threads lying behind it to create a cobweb stitch.
The rest of the shawl between the cobweb stitches is worked in stocking stitch as above.
The cobweb pattern is worked in a 24 row repeat.
Cobweb Stitch Repeat
R1: Sl1, K4, Sl1 Cobweb, K19, Sl1 Cobweb, K24, Sl1 Cobweb, K24, Sl1 Cobweb, K19, Sl1 Cobweb, K4, K1tbl
R2: Sl1, K1, P3, Sl1 Cobweb, P19, Sl1 Cobweb, P24, Sl1 Cobweb, P24, Sl1 Cobweb, P19, Sl1 Cobweb, P3, K1, K1tbl
Repeat rows 1 and 2 twice more
Cobweb Stitch Pickup
R7: Work as a stocking stitch knit row and knit in the slipped cobweb stitches as follows:
- Insert the right needle into the slipped stitch as if to knit, making sure it is open and not twisted
- Pick up the 6 strands of yarn behind the stitch, one for each row that you slipped onto the right hand needle
- Knit the stitch and the 6 threads together into a single stitch to create the cobweb stitch
- Finish the knit row and complete all the cobweb stitches as you work across
Work the next 5 rows (R8-R12) in stocking stitch as per the start of your shawl
To work the alternating cobweb stitch repeat:
R13: Sl1, K14, Sl1 Cobweb, K22, Sl1 Cobweb, K23, Sl1 Cobweb, K22, Sl1 Cobweb, K14, K1tbl
R14: Sl1, K1, P13, Sl1 Cobweb, P22, Sl1 Cobweb, P23, Sl1 Cobweb, P22, Sl1 Cobweb, P13, K1, K1tbl
Repeat rows 13 and 14 twice more
R19: Work the Cobweb Stitch Pickup row as per Row 7 of the Cobweb Stitch Repeat
Work the next 5 rows (R20-R24) in stocking stitch as per the start of your shawl
Continue working this 24 row Cobweb Stitch Repeat
It doesn’t matter if you change yarn colours in the middle of the repeat.
Depending on your preference you may want to avoid a colour change within a 7-row cobweb stitch section.
To complete the shawl work an additional 8 rows of stocking stitch after your final Cobweb Stitch Repeat
Cast off using Jeny’s Surprisingly Stretchy Bind Off. (Jeny herself doesn’t seem to have a video for this, but there are lots of other links as well as written out instructions if you prefer that to videos).
FINISH:
Cut the yarn and draw through the remaining stitch.
Weave in your ends if needed, handwash gently and dry flat, shaping as required.
A gentle press with a steam iron is a great way to finish this piece. Don’t apply too much pressure as you’ll flatten the yarn completely and it’s easy to burn it. And make sure your iron is steaming. The steam and a light pressure sets the stitches beautifully.
Happy knitting!
