Basic Bereanie
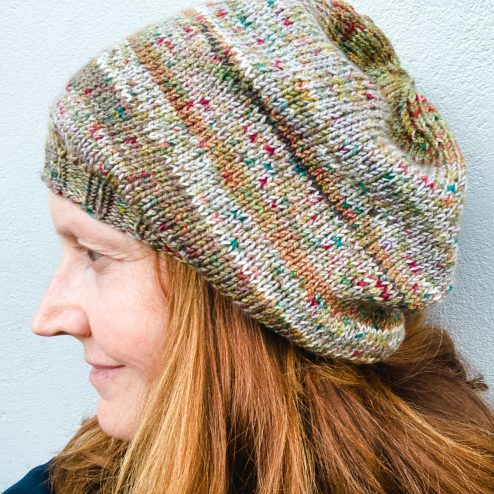
Most people think of beanies when considering making something to keep a head warm. But I’ve been wanting to knit a beret for a while now. So I decided to start with my standard beanie pattern and play around from there. That’s how the Basic Bereanie was born.
My brother is a big-time beanie wearer. He was unimpressed at its pouffiness. Clearly the beret is not his thing!
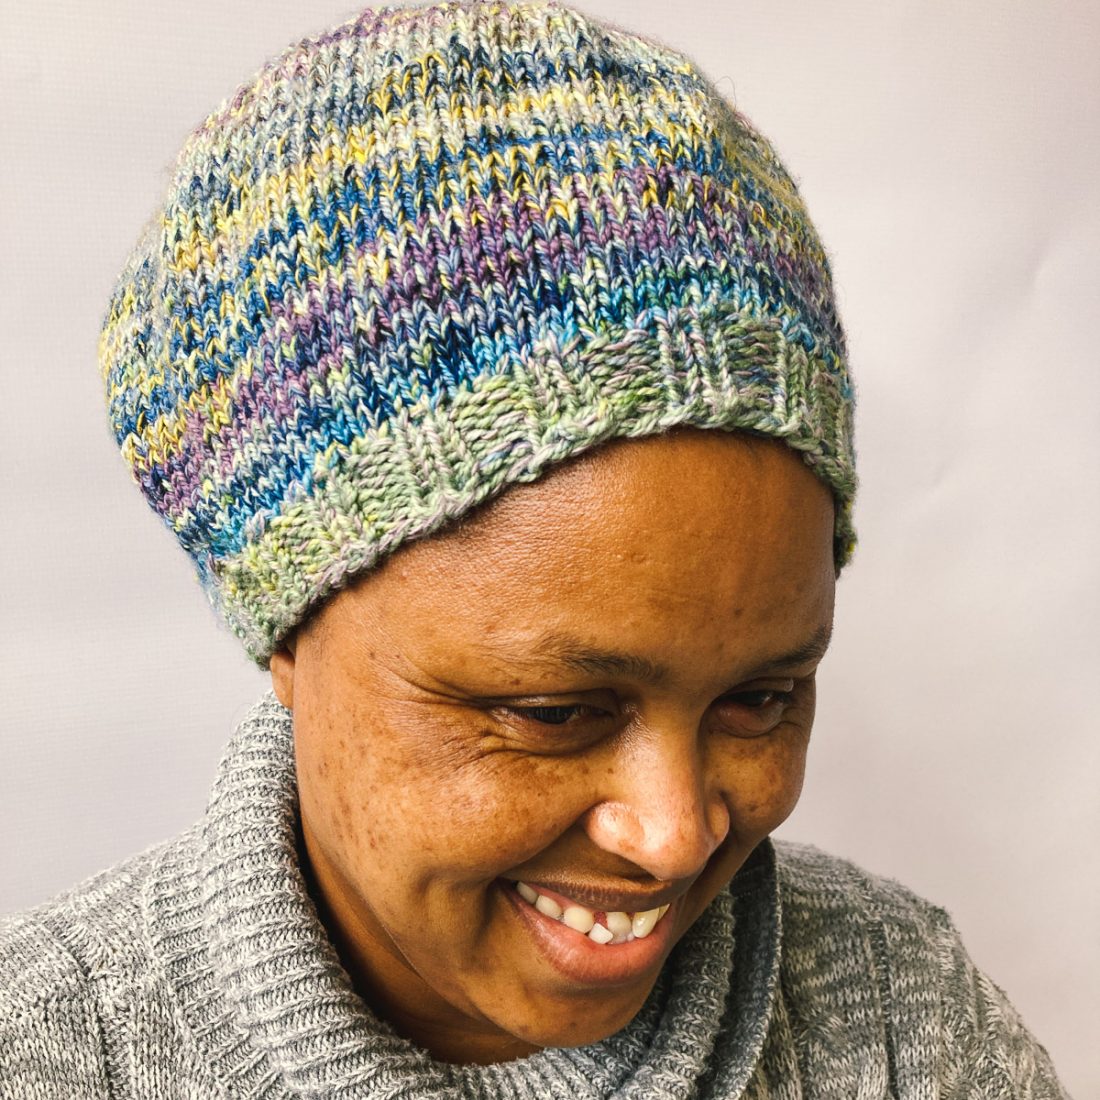
Busiswa on the other hand saw the sample and immediately asked if she could have it.
My top tip before attempting this project. If I may. Know your audience!
MATERIALS:
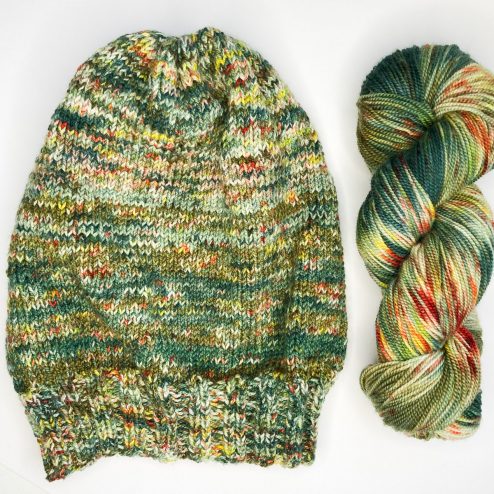
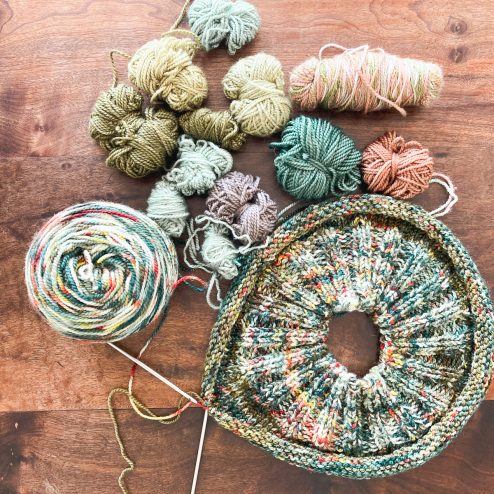
1 x 100g Cowgirlblues Merino Twist multi-colour
~40g of scraps in pretty much any yarn weight
3mm circular knitting needle
The idea of this Basic Bereanie is that you can work with whatever you’ve got. I started each of mine with a single skein of Cowgirlblues Merino Twist in a multi colour. Then went through my “scraps” drawer choosing odds and ends to go with it. For the green one I used the full skein and the finished weight was 140g
SIZE and FIT:
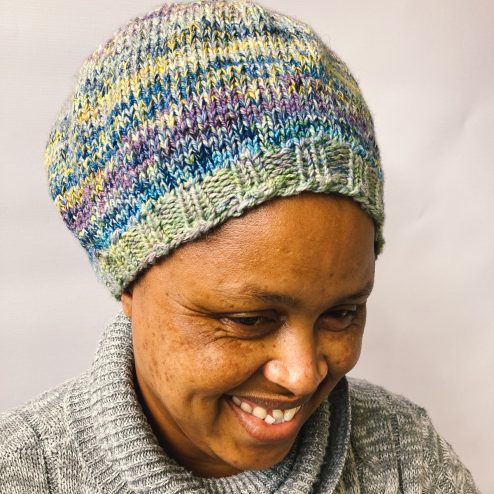
~20cm wide at the brim and ~30cm
The rib fits firmly on my head which is ~60cm around at the brim
My very first one was a bit loose on the brim and kept falling over my eye. So I knitted the rib a bit longer and tighter on the next two.
To get the beret effect you need enough fabric to allow it to flop on one side.
If you’re knitting it for someone with braids or extensions it has a nice full shape to accommodate these.
For a fuller and floppier fit increase the number of Kfb in your first round of stocking stitch (e.g. every stitch, two out of three, etc.)
GAUGE:
~21st and 30 rows = 10x10cm in stocking stitch (unblocked)
[Confession: I found counting the rows a bit tricky with all the different colours and double strand or yarn]
COLOUR
I did the rib and crown in two strands of my multi-colour by taking one end from the outside and one from the centre of the same ball.
For the rest I worked through my odds and ends holding two strands together throughout.
To achieve a more subtle colour effect select odds and ends in a similar colour to your multi colour base. Smaller (shorter) ends will give you a more blended effect. But if you use longer you’ll create a stripe effect.
With the green Bereanie I used the darker yarn ends first (Olive and Rainforest) and when those were finished I brought in Sage, Camel, Sable and some leftover multi colour in similar colour tones.
In the brown one the stripes are more noticeable. I used longer ends and alternated light and dark colours. And the small bits of Natural accentuated the colour changes.
For a very textured effect wear it with the purl side out, and use lots of different yarn types together.
If you’re using lots of bits I recommend weaving in your ends as you go.
KNITTING INSTRUCTIONS:
With two strands of yarn cast on 72 stitches (or any multiple of 4st)using your preferred method.
Join your stitches to form a circle, taking care to keep the stitches straight and not twisted
Then work in K2P2 rib for 20 rounds (~5cm)
However you can always knit the rib longer or shorter, depending on how the recipient likes it.
Change to stocking stitch and on the first round Kfb (Knit front and back) on every second stitch to finish the round with 108 stitches.
Continue to work in stocking stitch until it’s as long as you want it.
Depending on your preference there are different closing options.
For a more pouffy top that is less fitted:
K2tog all the way around, and continue until you have approximately 10-12 stitches.
If you prefer a fitted crown the decreases are done more slowly:
Stitch markers might be helpful to remind you where to decrease.
On the first decrease round insert a marker after the decrease each time.
Round 1: (K10, K2tog), repeat to end of round (nine times in total, 99sts)
Round 2: (K9,K2tog), repeat to end of round (90st)
Continue working decrease rounds until you have 9 stitches left.
FINISHING
Cut your yarn leaving a reasonable tail.
Then thread the tail into a needle and work the yarn end through each remaining stitch. Use the darning needle to lift them off the knitting needle and pull the yarn tail through.
Pull the yarn tight and work several stitches on the inside to secure it away. Then trim the ends.